烘焙
由 CookWhatHK0 次收藏
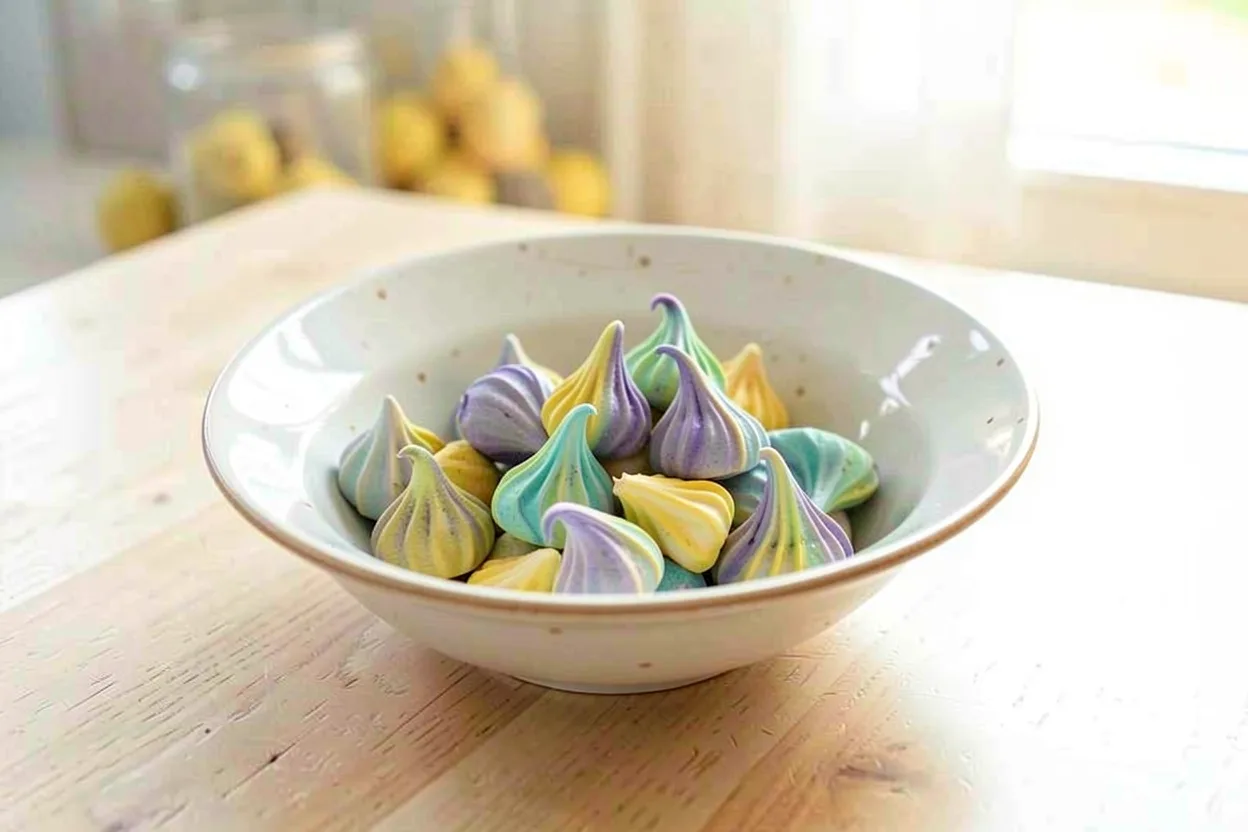
多彩蛋白糖以蛋白加入熱糖漿打成有光澤的意式蛋白霜,調成柔和色彩後唧出烘乾,入口即化。
材料全家福:蛋白、打發蛋白用的幼砂糖、煮糖漿用的小煲、凍水、煮糖用的幼砂糖、食用色素、杯、唧袋,還有不可缺少的溫度計。
The full line-up: egg white, caster sugar for whipping, a small pot for the syrup, cold water, caster sugar for the syrup, food colouring, cups, a piping bag, and the essential thermometer.
先把45克凍水和115克幼砂糖一同放入小煲,用最小的火加熱,溫度計可一直放在糖水中方便量度溫度。
Put 45g cold water and 115g caster sugar into a small pot and heat on the lowest flame, keeping the thermometer in the syrup to monitor the temperature.
煮糖漿的同時打發蛋白;20克幼砂糖分2次加入蛋白,用中速打發至蛋白出現小彎角或小直角即可。
While the syrup heats, whip the egg white: add 20g caster sugar in two batches and beat on medium speed until it forms small soft or firm peaks.
糖漿煮到112度便可使用,溫度不宜太低,112至120度之間均可,溫度太低代表糖未煮夠;沒有溫度計可憑時間判斷,用最小的火加熱,待糖漿起大泡、變濃稠並慢慢向上湧時,溫度已接近120度,即可使用。
The syrup is ready at 112C; do not let it run cool, as anywhere from 112 to 120C works, and a low reading means the sugar is under-cooked. Without a thermometer, judge by time: on the lowest flame, when the syrup bubbles large, thickens, and slowly rises, it is near 120C and ready.
把糖漿分次少量倒入蛋白糊中;為了拍照我暫停了打蛋器,但實際動作應該連續:一手慢慢倒入糖漿,另一手持電動打蛋器不停打發蛋白。注意糖漿不要倒在盆壁或打蛋頭上,要倒在蛋白糊上,直至全部糖漿倒完。可把打蛋盆從暖水盆中取出,盆下墊一塊粗布防止盆子打轉。
Pour the syrup into the meringue a little at a time; I paused the whisk for the photo, but the action should be continuous: one hand pours slowly while the other keeps the electric whisk running. Avoid the bowl sides and the beaters, aiming for the meringue, until all the syrup is in. Lift the bowl from its warm-water bath and set it on a coarse cloth to stop it spinning.
繼續用中速打發蛋白糊,蛋白糊會越來越白,越來越有陶瓷般的質感。
Keep beating on medium speed; the meringue grows whiter and takes on a porcelain-like sheen.
當感到電動打蛋器有阻力時停手,蛋白糊在打蛋頭上呈小彎角,即打發完成。
When the whisk meets resistance, stop; the meringue clinging to the beaters in a small curved peak means it is done.
取少許色素與部分蛋白糊混合,裝入唧袋。
Mix a little food colouring into part of the meringue and load it into a piping bag.
另取少許色素與另一部分蛋白糊混合;顏色可隨喜好調配,但以淺色較佳,看起來更清新。
Colour another portion the same way; tint to taste, but keep the shades pale for a fresher look.
此時把焗爐預熱100度;唧袋預先裝上唧咀,我用14齒小號唧咀,在鋪了矽膠墊或油布、油紙的焗盤上垂直唧出蛋白糖雛形,大小可隨喜好調整,但同一盤盡量大小一致。
Now preheat the oven to 100C; fit the piping bag with a nozzle, I used a small 14-tooth star tip, and pipe the meringue drops straight down onto a tray lined with a silicone mat or parchment. Size them as you like, but keep each tray uniform.
這是第二盤。
This is the second tray.
這是第三盤。
This is the third tray.
放入預熱好的焗爐,90至100度均可;我的焗爐是平爐,上下放兩層,中途可調換焗盤位置,令兩盤上下均勻受熱;另一盤則用另一台焗爐完成。
Bake in the preheated oven at 90 to 100C; mine is a flat oven, so I load two levels and swap the trays midway for even heat, finishing the extra tray in a second oven.
蛋白糖烘焙時體積不會比生坯膨脹多少,焗約60至90分鐘便大致內外全乾;實際時間視乎蛋白糖大小而定;想測試是否焗透,可揀一顆賣相較差的掰開查看;出爐放涼後,放入瓶或罐中密封保存,防止受潮變軟變黏。
The drops barely expand as they bake; about 60 to 90 minutes dries them through, adjusted for size. To test, break open a less tidy one to check. Once out, cool completely and store airtight in a jar to keep them from softening in the damp.
多彩蛋白糖,漂亮又美味!
Colourful meringue drops, pretty and delicious!